
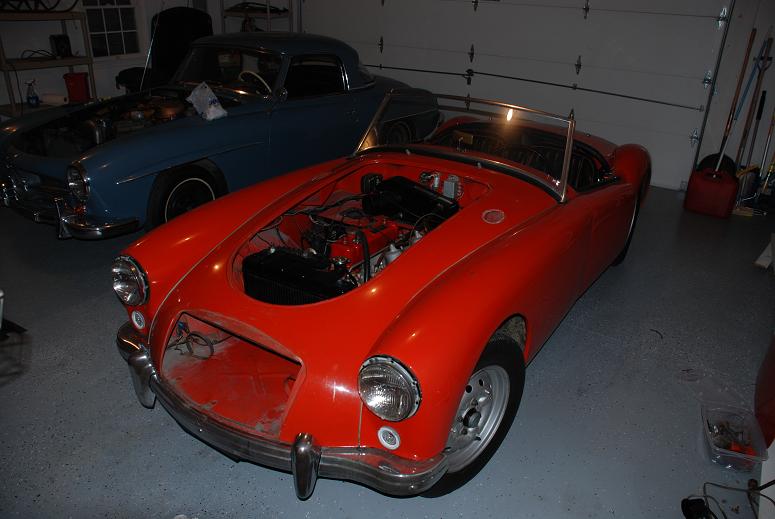
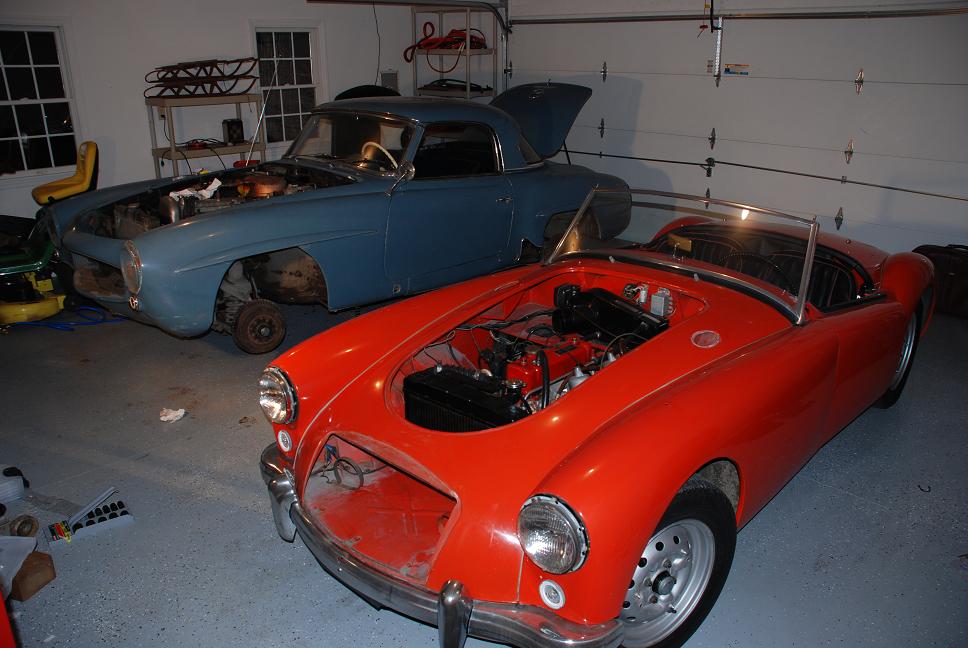
Page 1: Here are pictures of the car when I bought it in Ohio
Page 2: This page, below, shows the progress from disassembling the car, bringing the body downstairs, stripping the paint and prepping the parts. 1-9-2008 to 4-30-2008.
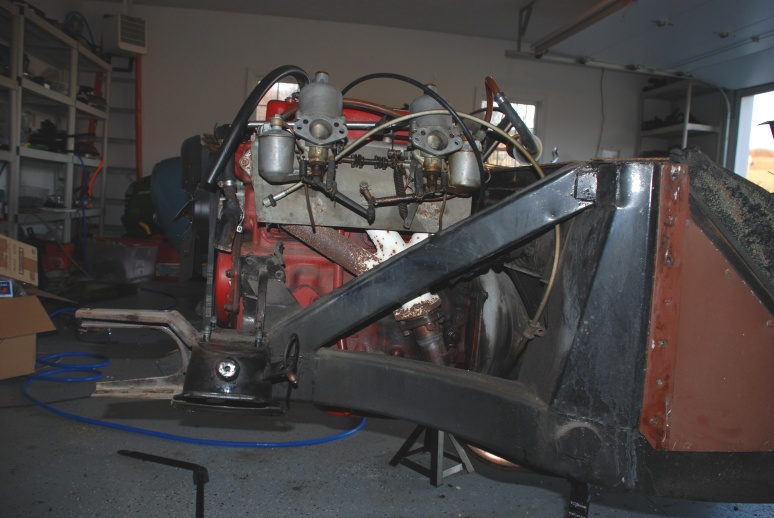
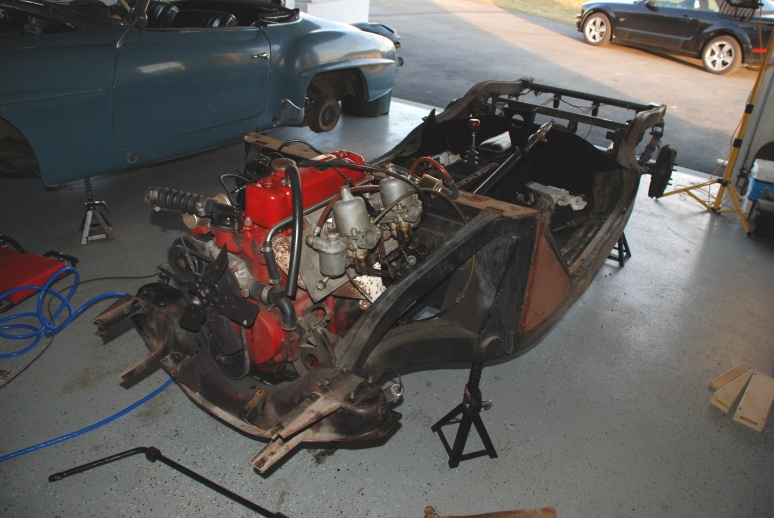
Page 3: This page starts in May 2008 and ends in November 2008. This includes doing some body work and priming the fenders, doors, trunk and hood. It also includes stripping the frame and painting the engine.
Page 4: This page starts on December 2008 This includes finishing stripping the frame and painting it, powder coating the suspension parts, painting black a lot of brackets, reassembling the suspension, making new floor boards, re-chroming some parts and starting the final painting of the body.
Page 5: Assembly of the car, starts June 7th, 2009
1-9-2008
I got the floor painted and heat added to the garage. I started taking the MGA apart today to get ready for repainting. No rust anyplace, so easy to work on.
1-11-2008
I tried taking the wheels and bumpers off the other day and had all sorts of problems, on too tight or rusted. So I bought an impact wrench. WOW, in five minutes I got everything off. I also got an air chisel. I put a 60 gallon compressor in the basement and ran hoses to the garage and shop. I'm setting up a paint area in the shop. Some bad body work has been done on this car. Around the headlights need to be redone. The right rear fender had been replaced and was riveted. That will have to be redone. Next for the shop will be a MIG welder. Bought insulation for the garage ceiling which is going in this weekend.
1-15-2008
I took the Mercedes bumpers apart. There were a few frozen bolts so I sprayed them with Liquid Wrench and moved onto the MGA. I put the MG on jacks, removed the wheels, front bumper, lights and the fender. The ceiling insulation made a huge difference. The heater doesn't come on much and its 25 out.
Look at the sheet metal, just like new. Not even any surface rust. The whole car is like this. This car is sooo easy to work on. The headlight buckets are like new. The ones on the Mercedes are rotted through and will need to be replaced.
I think I'll take the suspension apart and power coat it.
1-19-2008
Took the front right fender off, the windshield and a lot of the trim in the passenger compartment. I've got a new windshield, the original had scratched from running the blades with bad rubber. Have to get the frame rechromed. Did I tell you that this car is incredibly easy to work on?

Look at the sheet metal underneath!

1-20-2008
Pulled off the rear two fenders, the doors and the trunk lid. There was a little body repair on the rear left fender. This is the first I have found so far. Still no rust anyplace.
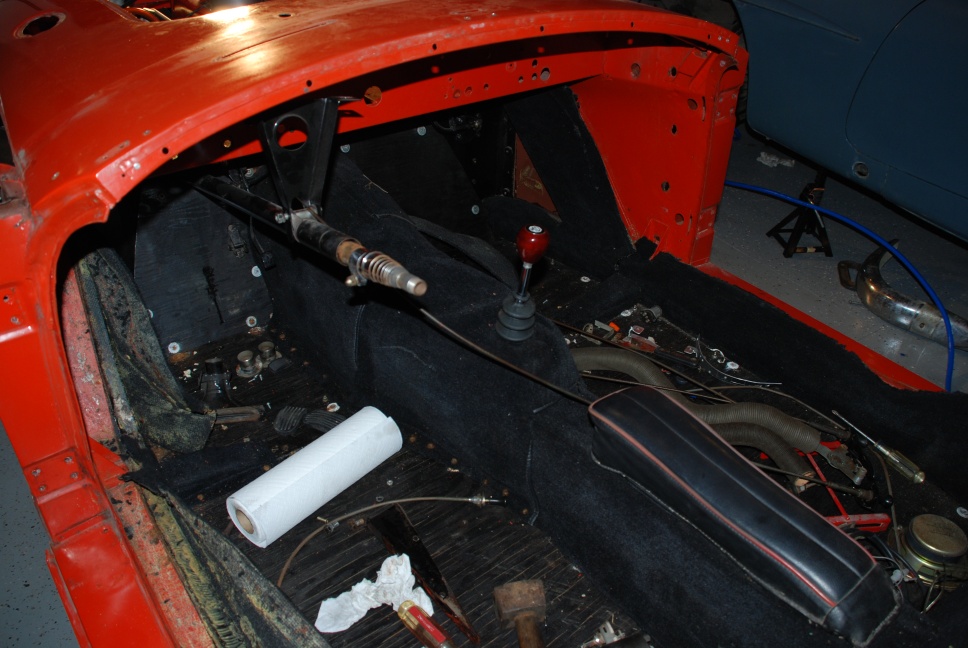
1-21-2008 I took out the seats and as you can see I took apart the dash. It gets painted body color. I'm going to put a new radio in.
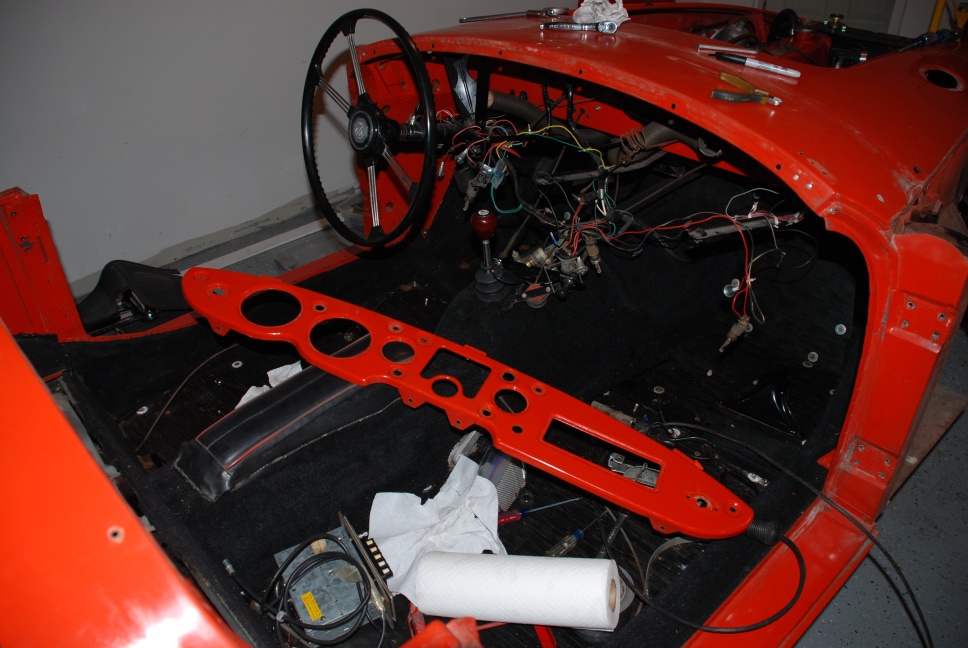
On the other side of the firewall I took out the heater box and disconnected the wiring. I'm trying to decide how far to go with this car. I'd like to paint the engine bay but that means removing the entire body from the frame. Only 24 bolts though. We'll see. Don't have to pull the engine to do it though. Rolling under the car tonight, I think this car has already had a frame off restoration. Frame bolts look like they have been removed and the gasket between the frame and body is new. Also, under the trunk area has recent undercoating. It's not the usual think black stuff. But to evenly cover where it was needed the body to be removed. I don't know why the frame off restoration was done because I can't fine any damage or any repair welding. The plywood, yes plywood, floor is new.
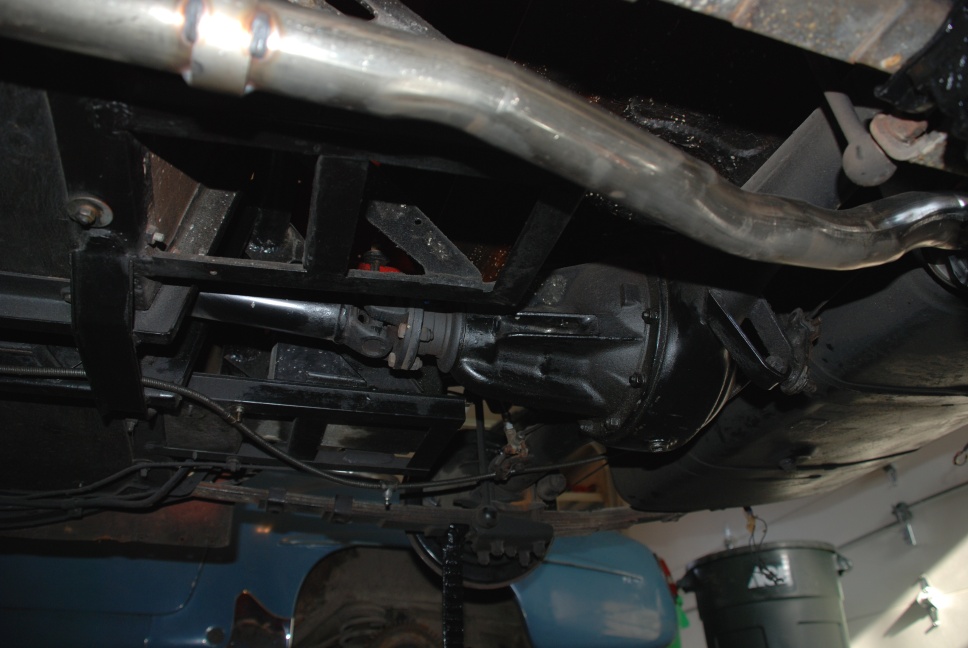
The picture below is under the car showing the rear axle and frame. There is a coating of grease over everything from a small oil leak (I think the rear seal) but everything is nicely painted and excellent shape. I put the new stainless exhaust on.
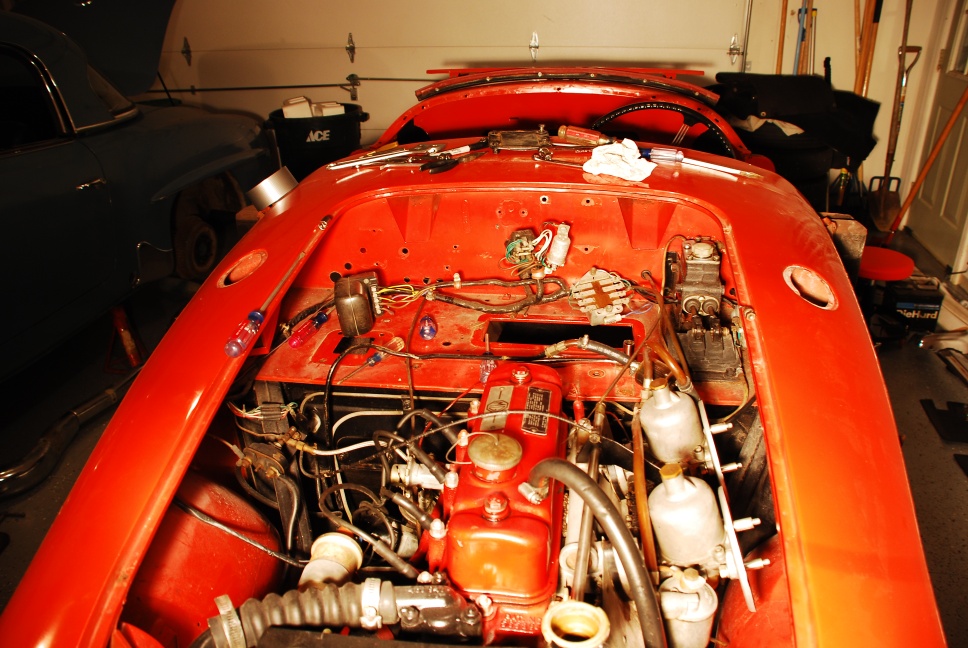
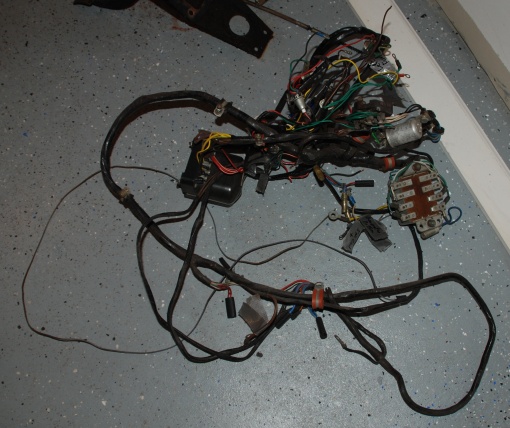
1-28-2008 Pulled the wiring harness out of the car, see the picture below. See the big hole in the firewall in the next picture? Well all the wires inside the car had to be fed through it.
I also unbolted the body from the frame, 22 bolts. If I was a little stronger and had a clone, I would have removed it. But I figure it is about 3-400 pounds. Two could do it but four people would be better. I can lift up each side.
Not much left inside the car.
And here is where all the parts are going. The right side is for doing body work and the left for painting. I'm going to partition the painting side with plastic sheets.
2-3-2008 Here is the body completely unbolted from the frame. The body is sitting on wood blocks about eight inches above the frame. Just waiting for a few friends from work to come out during lunch to help carry it to the basement.
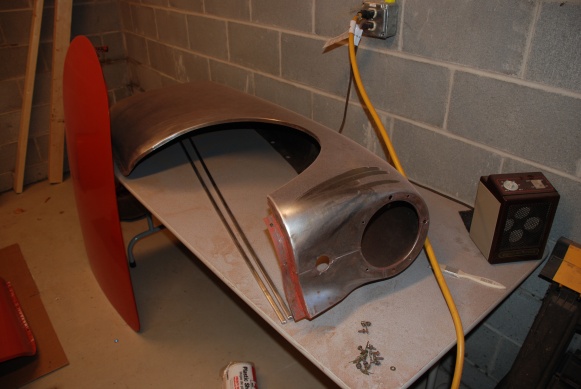
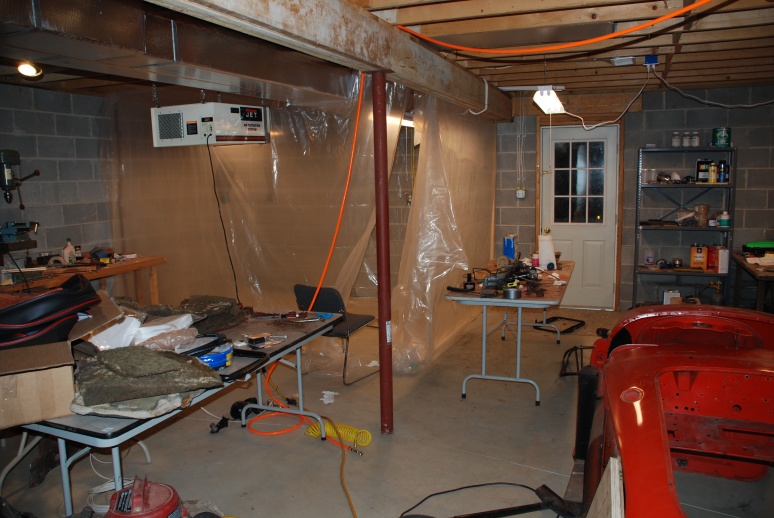
This is the body work area in the basement. I've been chemically stripping then using a power wire brush to get completely down to the metal. Took my first cut at MIG welding and welded closed the holes for the mirror. I'm going to move them closer, about 15" along the fender. Where they were they are pretty far away and unusable, even with the new convex ones I bought. I haven't been able to find out where they were from the factor. I bought a book on ebay that should tell but it hasn't arrived yet.
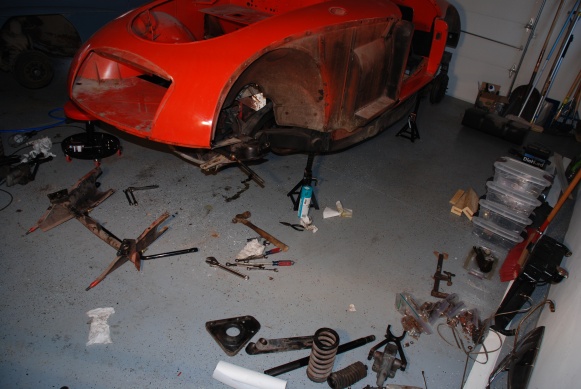
2-17-2008 More parts stripped, the doors and the hood. You can see from the picture on the right that I've disassembled the front suspension. I'm also in the middle of stripping and cleaning all the black parts on the car, dash supports, brackets from under the hood, gas, brake and clutch peddles and the front suspension. I've also removed the rack and pinion steering and am cleaning that. All this will also be repainted. I probably will just paint as opposed to powder coating. Haven't moved the body downstairs yet due to the rotten cold weather. I contacted the previous owner. He had the car for five years and put 1000 miles on it. He is going to see if he can get the contact info for the guy he bought it from. As far as he knows, the odometer is correct, 12,000 miles.
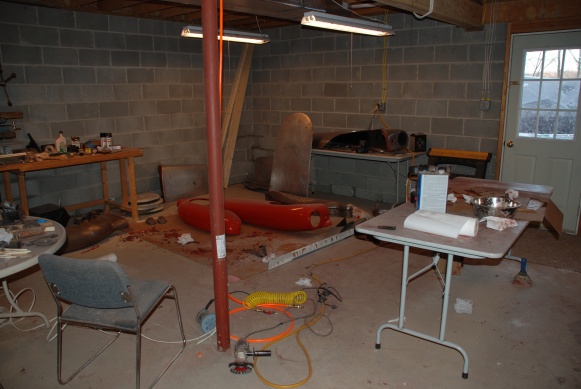
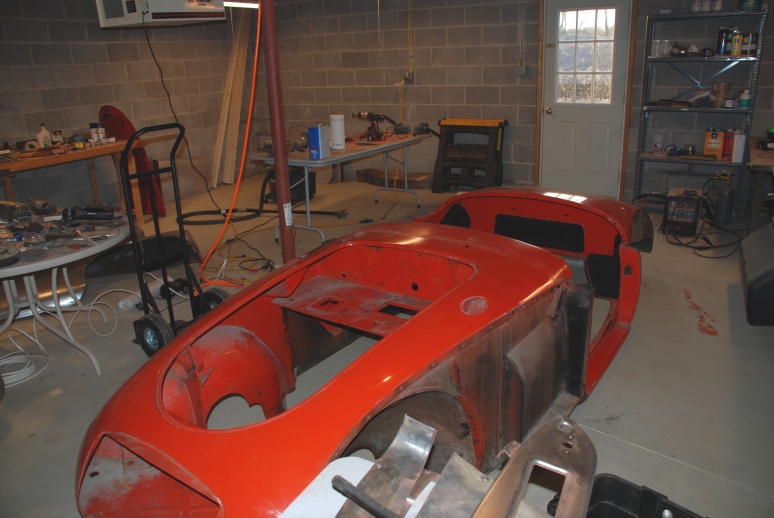
3-4-2008 Finally got the body moved downstairs.
3-10-2008 Well the paint room is all done. That is the plastic room on the left. The filter I bought for the shop is going to circulate and filter the air. I also pulled out the wood floorboards in the car, in the garage.
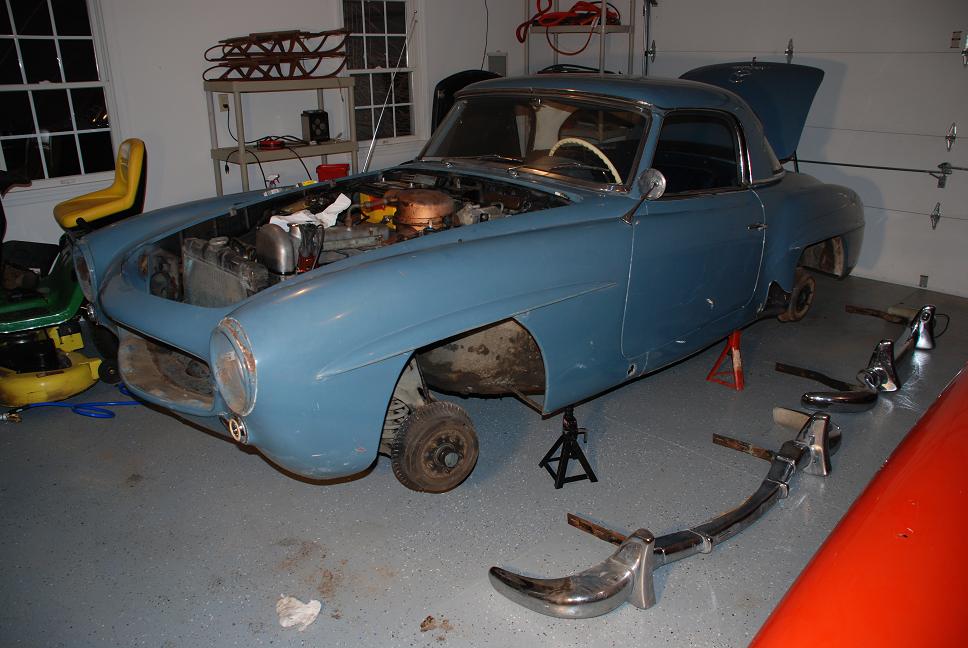
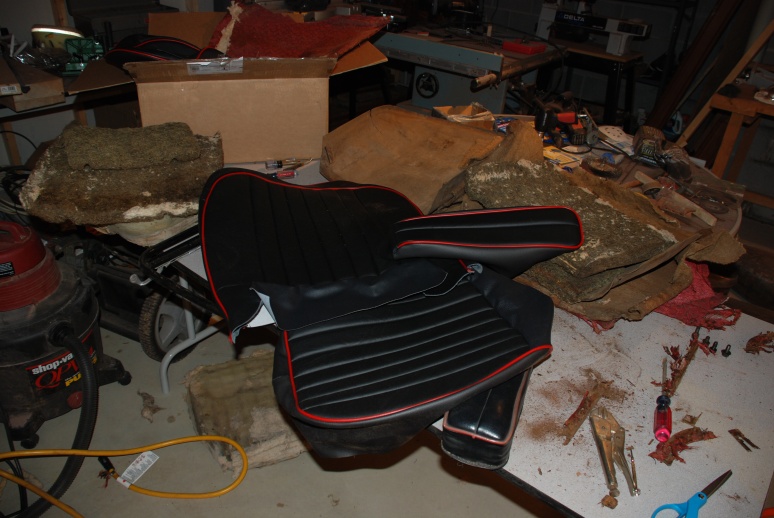
Here are the new leather seats. The material around them are the old seats. I've stripped them down to the frame. I'm stripping the frames and am repainting them. I've got new foam and backing on order from Moss Motors. I got a used oven over the weekend for powder coating. Will be setting that up in the other side of the basement next to the air compressor. I'm going to use the 220V plug for the compressor so I don't have to do any more wiring. I took some stuff off the 190 so check it out.
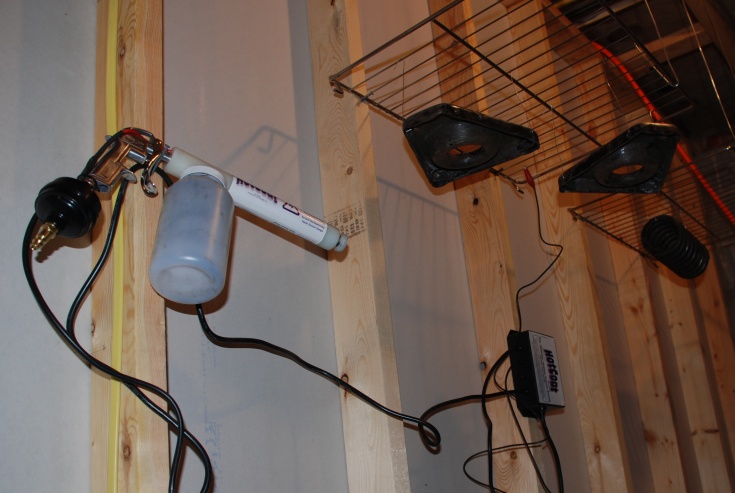
3-11-2008 I brought the oven downstairs and wired it up. I'm using the same plug as the compressor. I tried my first powder coating. The part came out great, the coating was very even and hard as a rock.
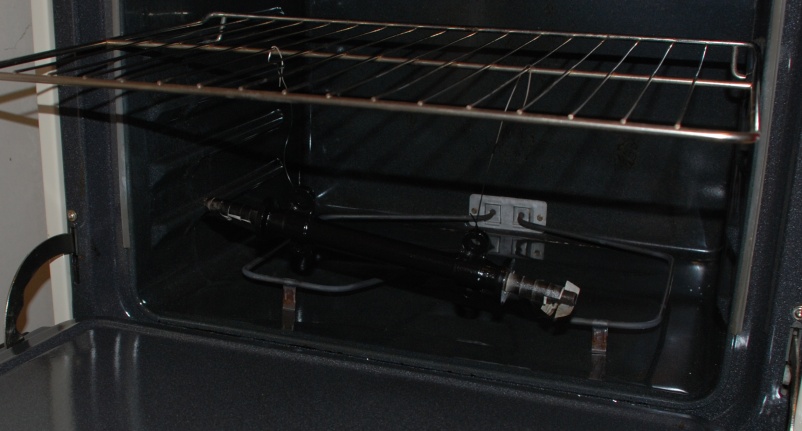
I hung the part from the oven rack to spray it. The electrode gets attached to the rack. The sprayer works at about 8psi and the very fine powder sort of creates a cloud in front of the gun. While you spray, you also push a switch to turn on the electric charge. This charges the particles and makes them stick to the metal. There are no volatiles or out gassing during the curing in the oven. Any overspray is just vacuumed up. So this is a very environmental friendly process. And it results in a coating that is far more durable than paint. I need to put a table next to the compressor with a hose and regulator so I can do the spraying in here. You bake the part at 450 until you see it getting shinny, the coating is melting. This took about 10 minutes for this part. This will vary depending on how beefy the part is. Then 20 minutes more at 400 degrees. Then just let it cool. A second coating can be applied but one is usually enough.
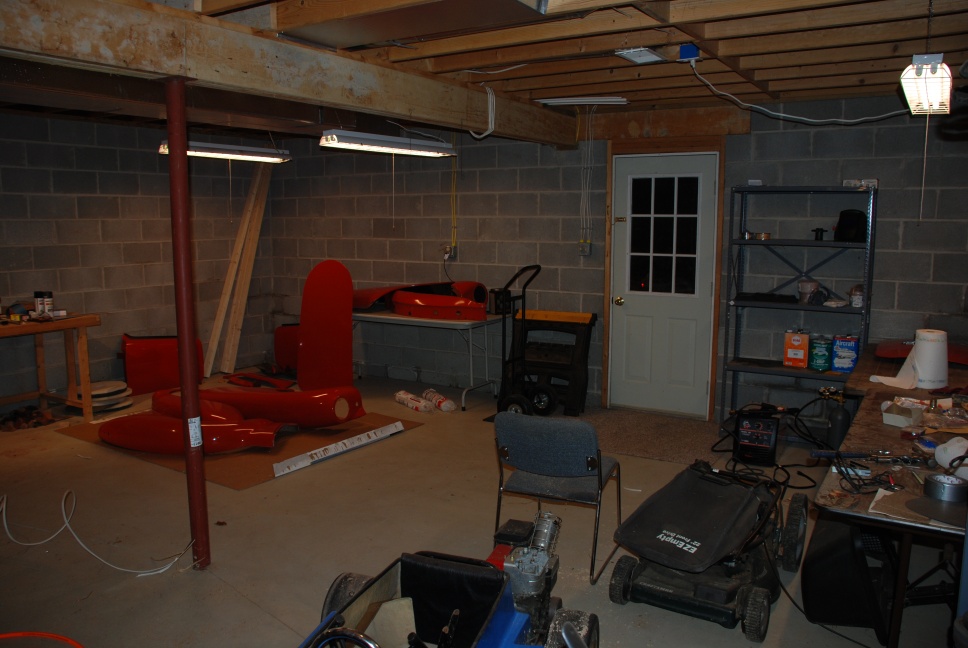
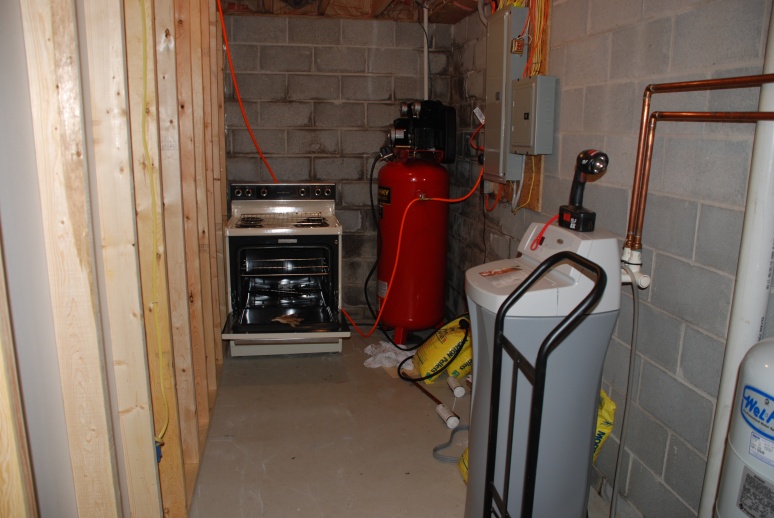
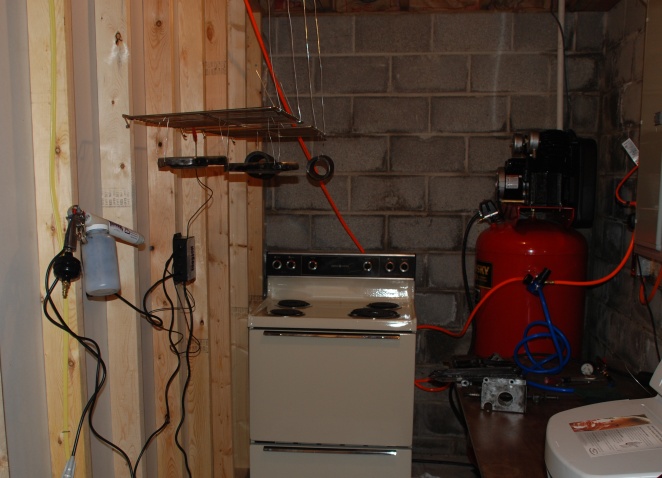
3-12-2008 Well here is the powder coating room. The oven racks are attached to the wall for spraying the parts. There is a wire going from the box on the wall that clips on the rack. The blue air line coming out of the compressor goes to the spray gun. After the parts are coated, the rack is placed in the oven.
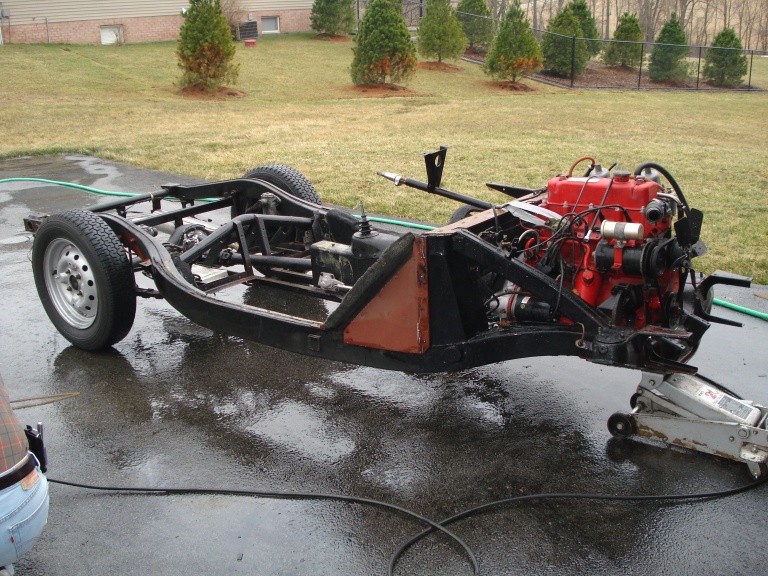
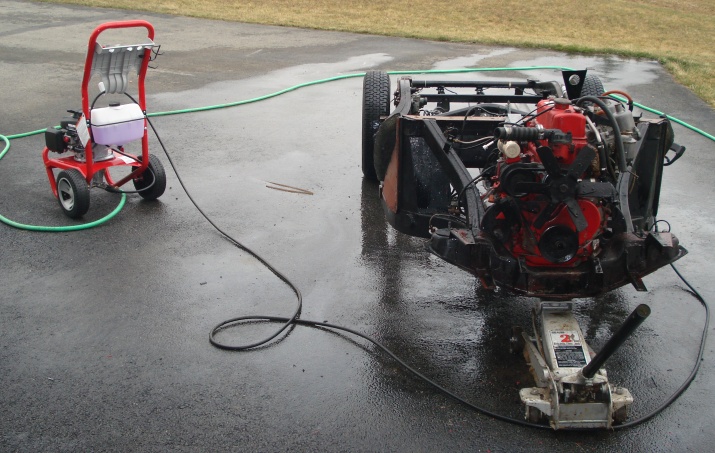
3-16-2008 I put tires on the rear and used the jack to support the front end. I then rolled it out onto the driveway and pressure washed it. I think I'm going to keep going and take everything off the frame so I can paint it properly. I think the rear main seal needs replacement anyways.
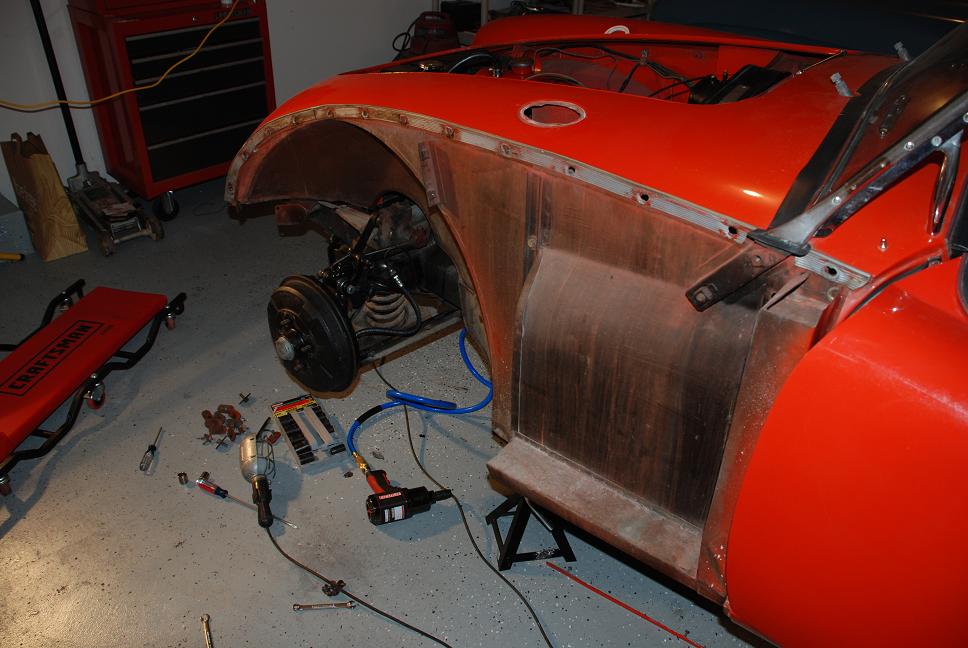
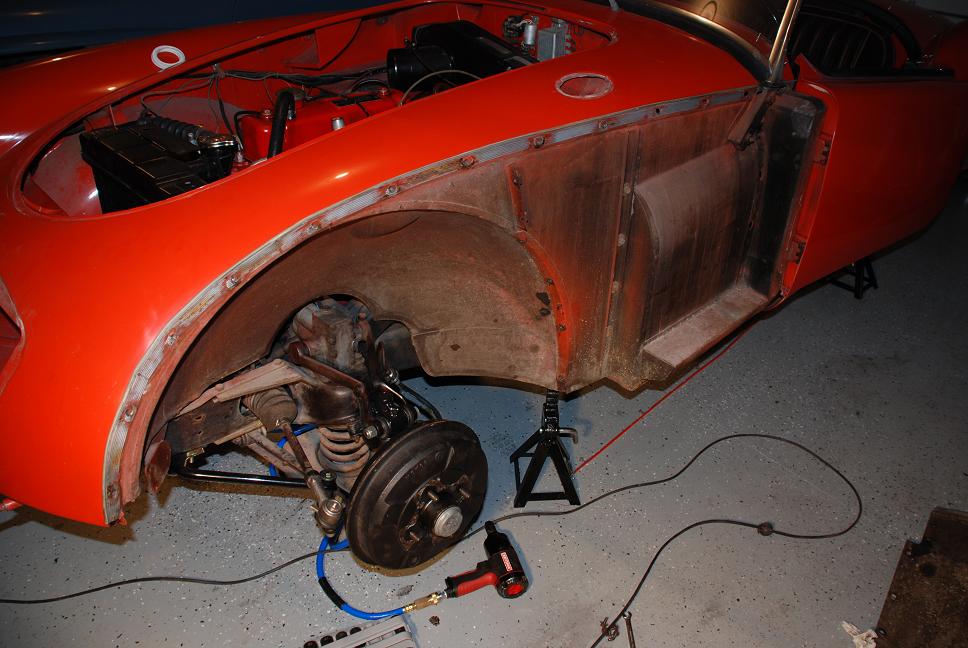
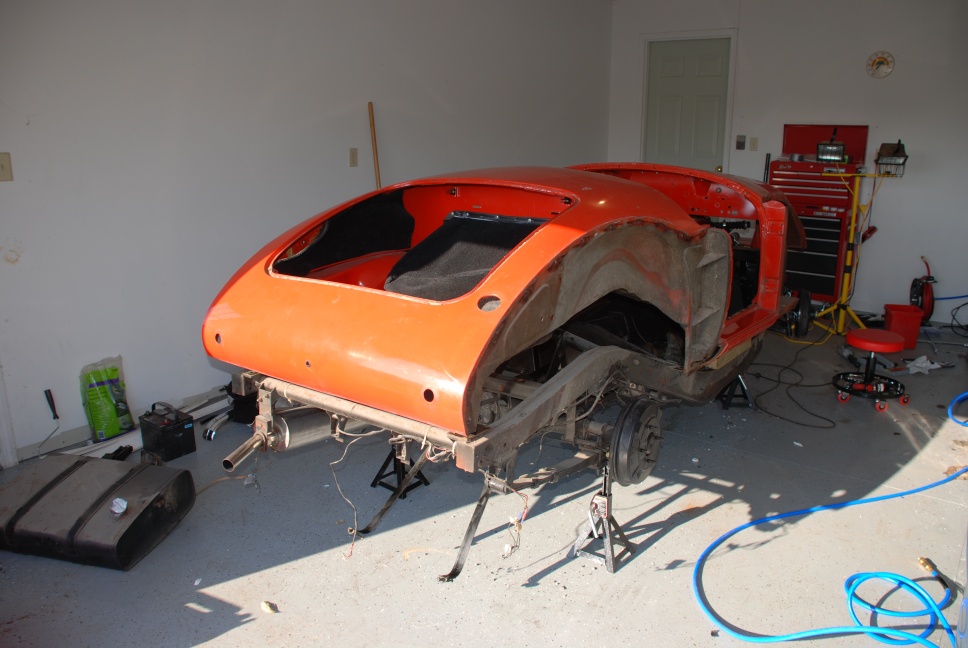
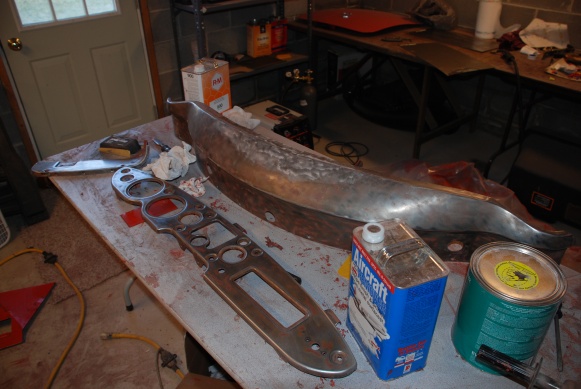
4-30-2008 - I decided to paint the wheel wells body color, instead of leaving them undercoated. So I've been stripping undercoat then the paint under it. I've got the right wells stripped, the top picture below shows it best. I'm trying to strip as much paint as possible. The rest I'll clean and abrade with steel wool to prep it for paint.
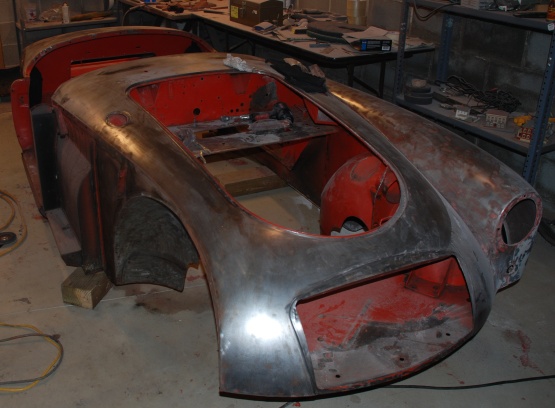
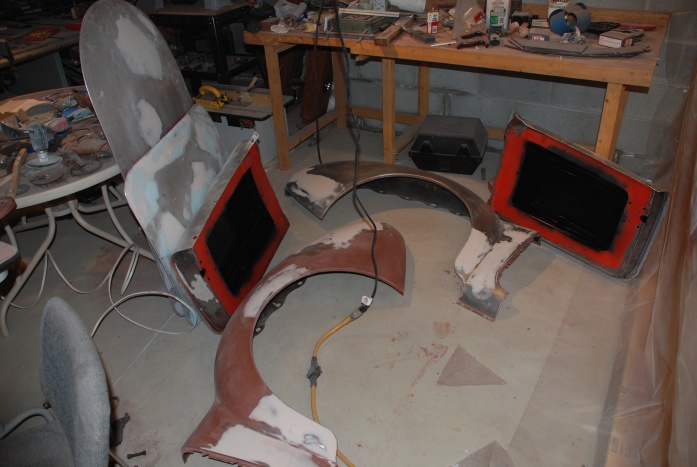
I've got all the body parts stripped and straightened. The right front fender is the only one that was absolutely perfect. You can see the rear fenders on the floor in the picture below. There was a little repairing to do in each. The passenger door had a little to do and the drivers door had a good sized dent. It's weird that the car has absolutely no rust, indicating it wasn't driven much, but there are a lot of dents. But it is 50 years old.
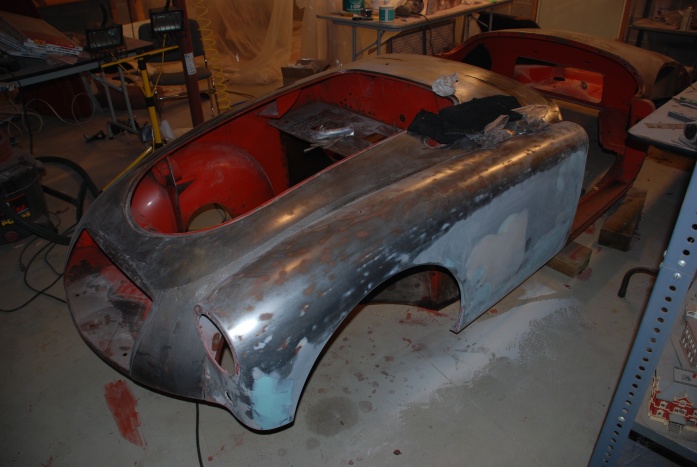
I bolted the front left fender to the car so it would keep its shape while doing some work on it. There was body filler over the entire side, mostly for no good reason. So I stripped it all off and redid it.
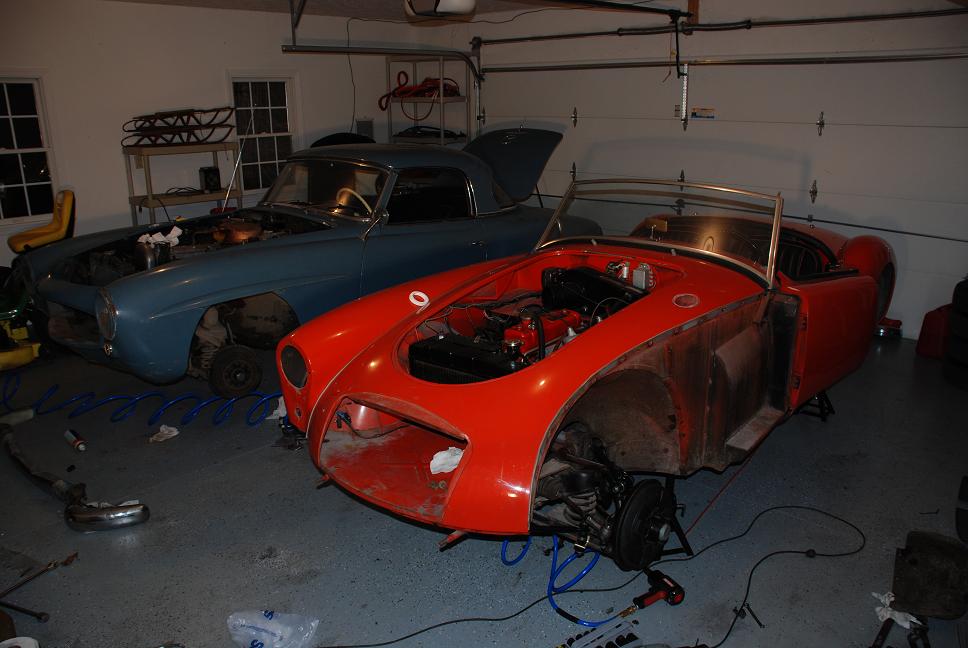
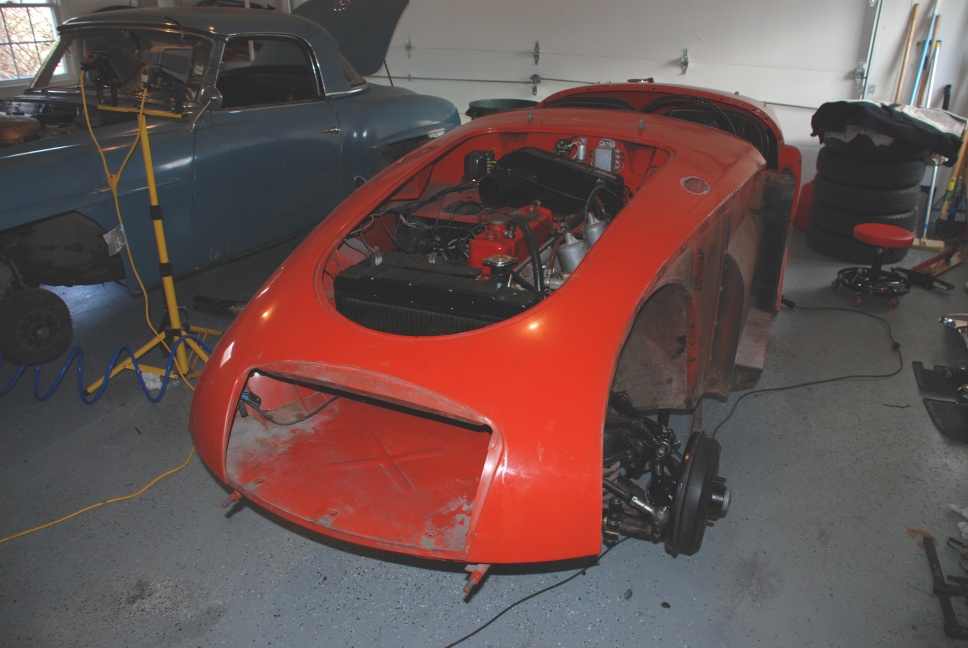
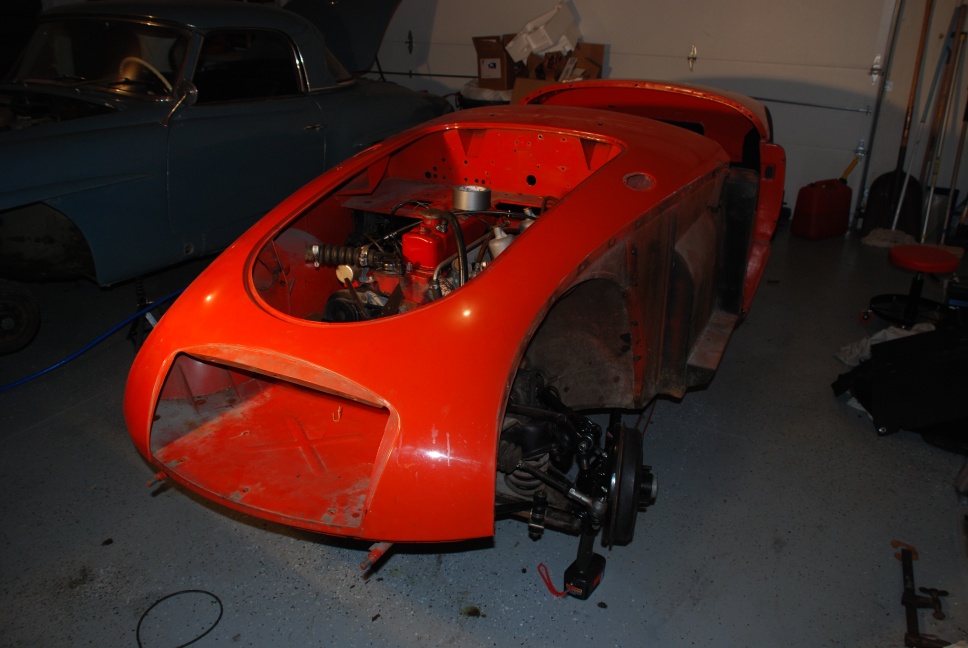
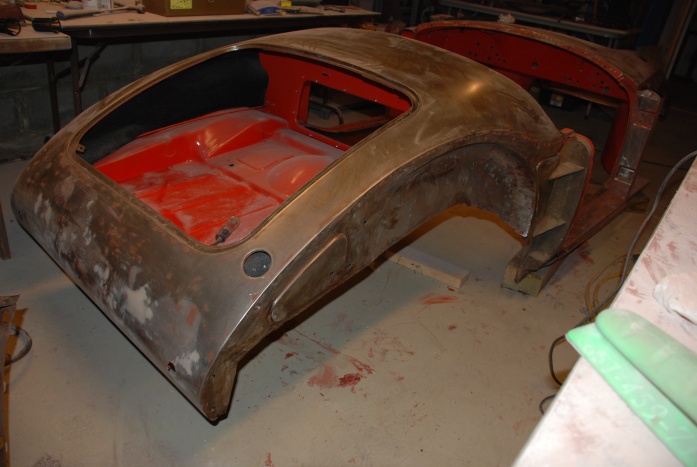
It is going to be a challenge to paint this body. This view is looking through the front grill towards the rear.
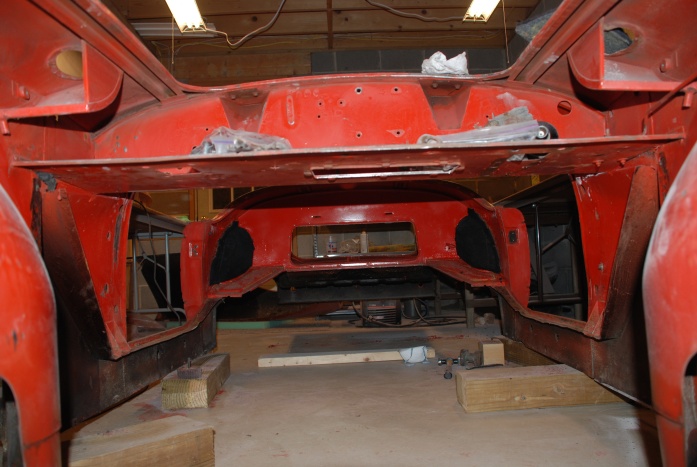
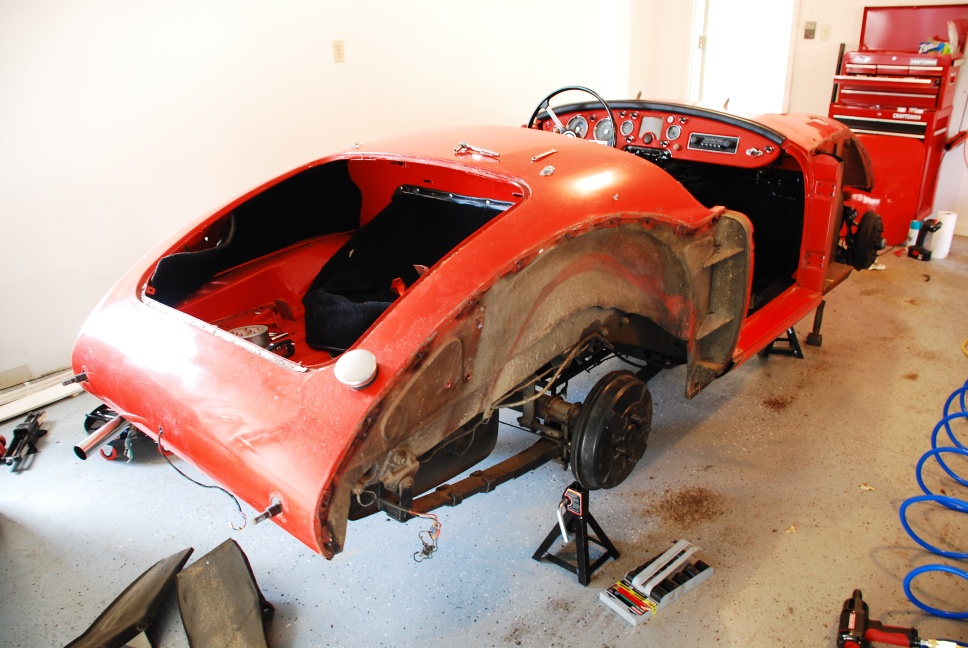
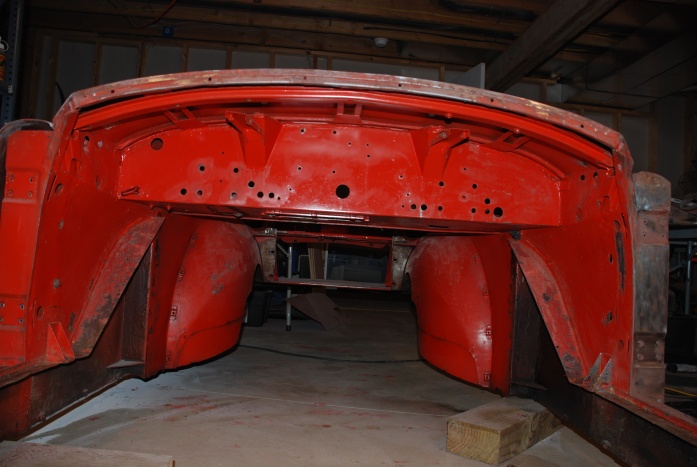
Below is a view from the trunk towards the front. You can see the firewall with all the holes in it. All of this will be repainted.
I think I'll start a new page.